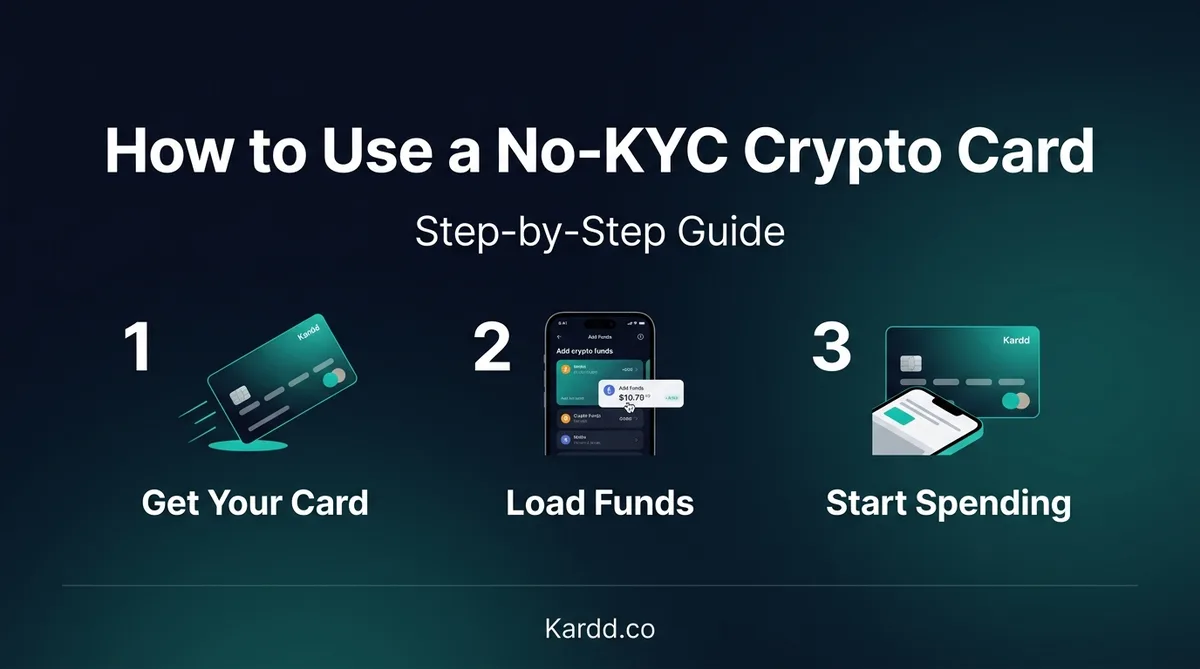
You’ve decided to try a no-KYC crypto card. Now what? The process is simpler than most people expect — you can go from zero to tapping your phone at a coffee shop in under 10 minutes with the right card.
This guide walks through every step: choosing a card, signing up, loading crypto, and making your first purchase. No KYC, no fuss.
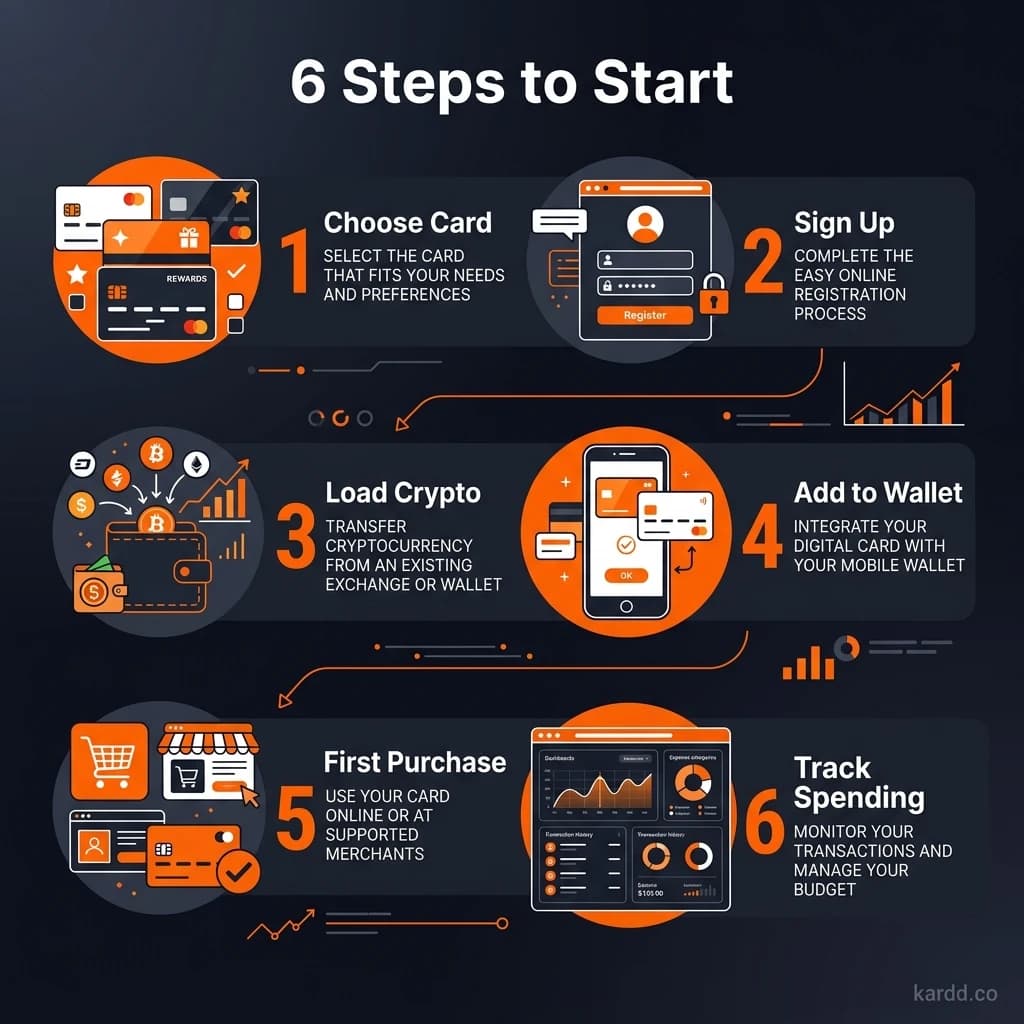
Step 1: Choose Your Card
Before anything else, decide which card fits your needs. Use Kardd.co to compare all 11 no-KYC options, or use this quick guide:
Want the best all-around card?
XKard — Zero KYC, Apple Pay + Google Pay, Visa + Mastercard, up to $100K/month
Want the cheapest fees?
BingCard — 1% top-up (under $1K/month)
Want to spend SOL?
SolCard — Solana native, Apple + Google Pay
Want maximum anonymity?
Goblin Card — Accepts Monero (XMR)
For a full comparison, see our Best No-KYC Crypto Cards in 2026 guide.
Step 2: Sign Up (Under 5 Minutes)
No-KYC cards strip onboarding to the minimum. Here’s what to expect:
Zero-KYC cards (XKard, SolCard, Goblin Card)
- Visit the card provider’s website
- Enter an email address (use a privacy-focused email if preferred — guides at Undetectr cover best practices)
- Create a password
- Your virtual card is issued immediately — card number, expiry, CVV visible in your dashboard
Minimal-KYC cards (BingCard, KAST, COCA Card)
- Enter email + phone number
- Verify phone via SMS code
- Virtual card issued within minutes
No identity documents. No selfies. No proof of address.
The entire signup process takes 2-5 minutes depending on the card. Virtual cards are available instantly — physical cards (where offered) typically ship within 5-14 days.
Step 3: Load Crypto onto Your Card
This is where your crypto becomes spendable fiat. The process varies by card but follows the same pattern:
General loading process
- Log into your card dashboard
- Click “Top Up” or “Load”
- Select your cryptocurrency (USDT, SOL, BTC, etc.)
- Select the blockchain network (TRON, BNB Chain, Solana, ERC-20 — depends on card)
- You’ll see a deposit address — send crypto to this address from your wallet
- Wait for blockchain confirmation (30 seconds to 10 minutes depending on network)
- Fiat balance appears on your card
- Start small. Load $50-$100 for your first test. Verify it arrives and works before loading more.
- Double-check the network. Sending USDT on the wrong chain (e.g., ERC-20 to a TRON address) means lost funds. No recovery on no-KYC cards.
- Check minimum loads. Most cards have a $10-$50 minimum per top-up.
- Factor in the fee. If you load $100 at a 3% fee, $97 lands on your card.
Network speed by card
| Card | Best Network | Confirmation Time |
|---|---|---|
| XKard | TRON (TRC-20) | ~30 seconds |
| SolCard | Solana | ~1 second |
| BingCard | TRON (TRC-20) | ~30 seconds |
| Laso Finance | BNB Chain (BEP-20) | ~3 seconds |
| Goblin Card | Bitcoin/TRON | 10 min (BTC) / 30s (TRON) |
Step 4: Add to Apple Pay or Google Pay (Optional)
If your card supports mobile wallets, adding it takes 30 seconds:
For Apple Pay
- Open the Wallet app on your iPhone
- Tap the “+” button
- Select “Debit or Credit Card”
- Enter your virtual card number, expiry, and CVV (from card dashboard)
- Verify via SMS or email code from the card provider
- Done — tap to pay at any NFC terminal
For Google Pay
- Open Google Pay on Android
- Tap “Add to Wallet” → “Payment card”
- Enter card details manually
- Verify via SMS/email
- Ready to tap
Cards that support mobile pay
- XKard — Apple Pay + Google Pay (zero KYC)
- SolCard — Apple Pay + Google Pay
- Laso Finance — Apple Pay + Google Pay + Samsung Pay
- KAST — Apple Pay
- COCA Card — Apple Pay
For more details, see our Apple Pay & Google Pay guide.
Step 5: Make Your First Purchase
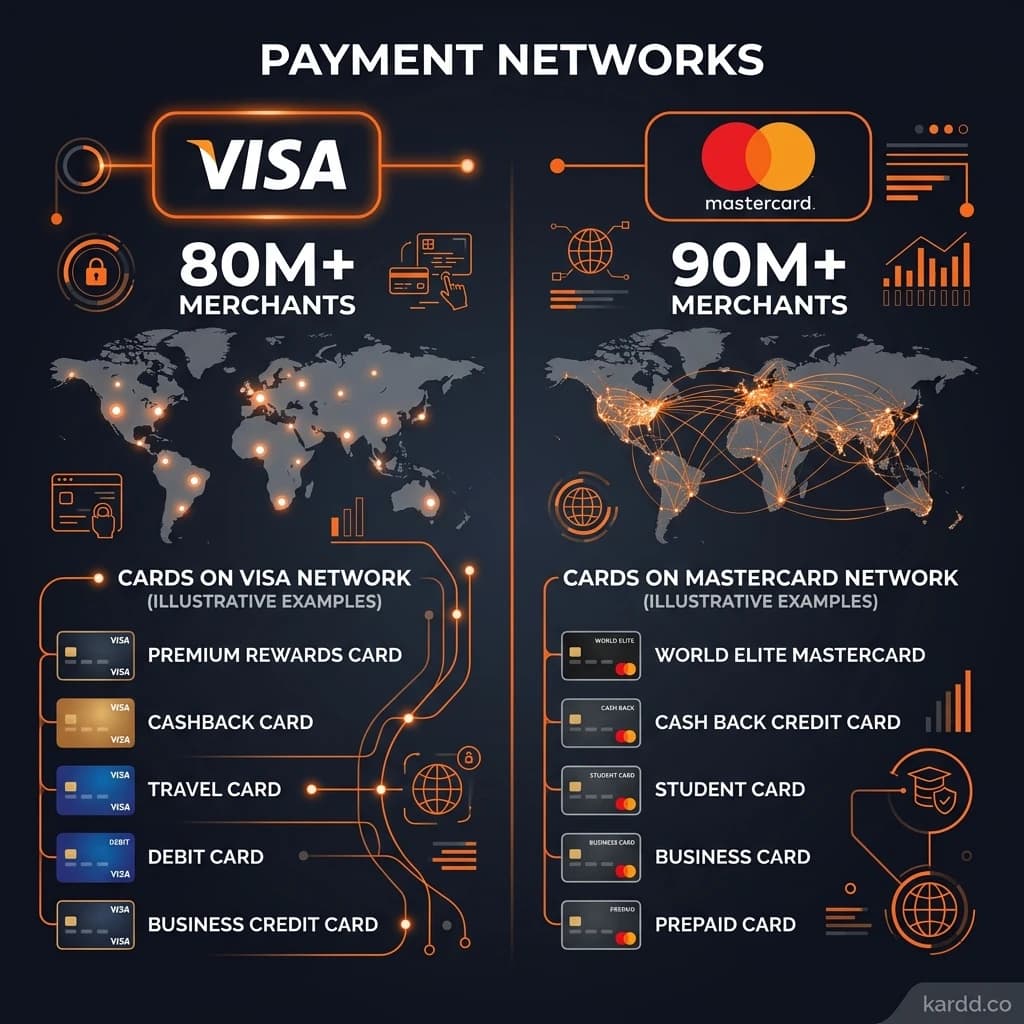
Your card works like any Visa or Mastercard. The merchant doesn’t know crypto is involved.
Online purchases
Enter your card number, expiry, and CVV at checkout. Works on Amazon, Uber, Netflix, subscriptions — anywhere Visa/Mastercard is accepted.
In-store purchases (tap to pay)
If you added your card to Apple Pay or Google Pay, just tap your phone at any NFC payment terminal. If you have a physical card, tap or insert it.
ATM withdrawals (physical cards only)
Insert your card, enter PIN (set in your card dashboard), and withdraw cash. Expect a $2-$5 fee per withdrawal.
What the merchant sees: A standard Visa or Mastercard transaction. No mention of crypto, no special processing. It’s invisible.
Step 6: Track Spending and Top Up
Monitoring your balance
Every card provides a dashboard or app showing your current balance, transaction history, and remaining monthly limit. Check it before large purchases to avoid declines.
When to top up
- Before any purchase that would exceed your balance
- Don’t pre-load large amounts — load what you need for the next few days
- Set a mental “reload threshold” (e.g., reload when balance drops below $50)
Managing monthly limits
Know your card’s monthly cap. If you’re approaching it, either wait for the limit to reset (usually monthly on your signup anniversary) or use a secondary card. Kardd.co shows all current limits.
Tips for Safe Usage
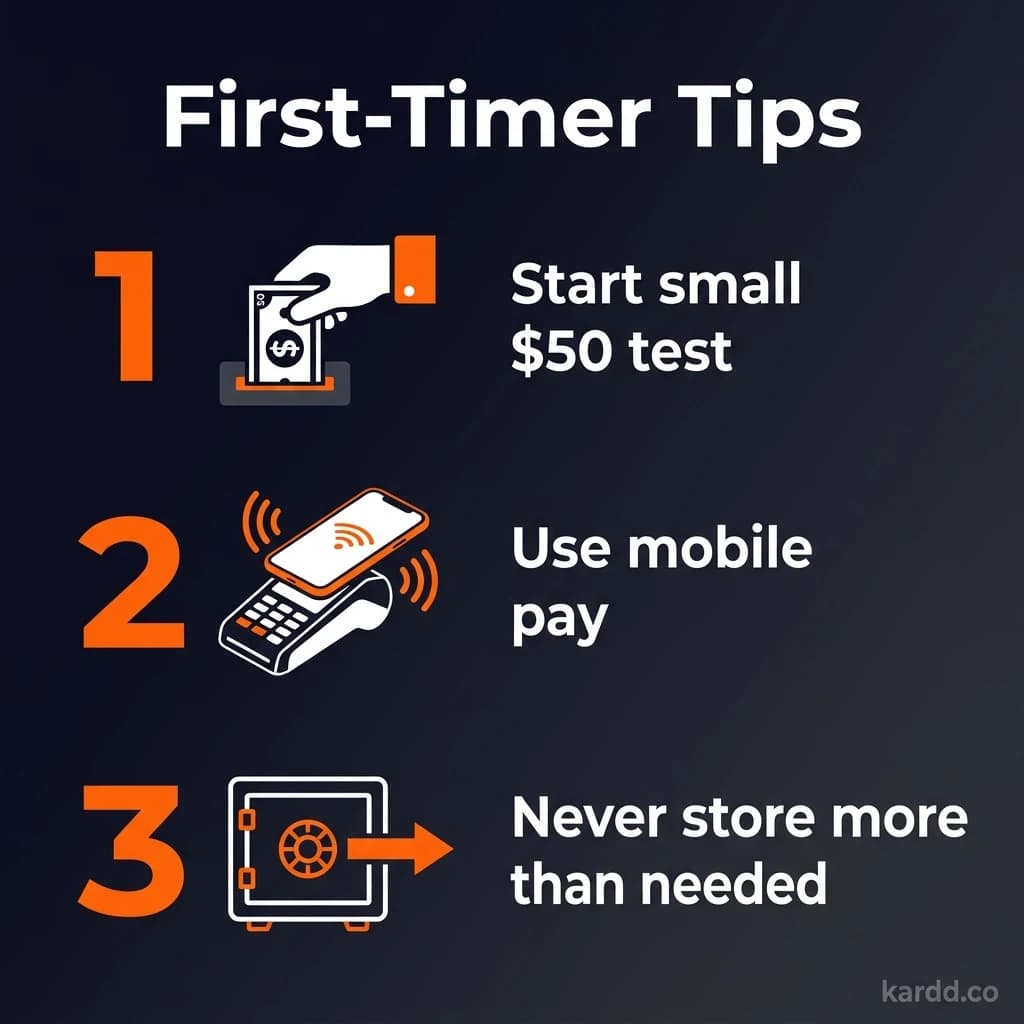
- Never load more than you’ll spend in a few days. No-KYC cards aren’t savings accounts. See our safety guide.
- Keep 2-3 cards active. If one freezes or shuts down, you have backups.
- Test with a small amount first. $50 test transaction before loading hundreds.
- Use a dedicated email. Don’t reuse your main email for card signups.
- Check Kardd.co before loading. We update card status weekly — make sure your card is still operational.
- Keep records. Screenshot your funding transactions. Helpful if you need to prove ownership of frozen funds.
FAQ
How long does it take to get a no-KYC crypto card?
Virtual cards are instant — you can be spending within 5-10 minutes of signup. Physical cards take 5-14 days to ship.
What crypto can I load?
Depends on the card. Most accept USDT (the most common). XKard takes USDT on BNB and TRON. SolCard takes SOL. Goblin Card accepts BTC, ETH, SOL, XMR, and USDT. See Kardd.co for the full list per card.
Can I use a no-KYC card for subscriptions?
Yes — Netflix, Spotify, VPNs, cloud services, etc. Just ensure your balance stays above the subscription amount so it doesn’t decline and cancel your service.
What happens if a transaction declines?
Usually insufficient balance. Check your card dashboard, top up, and try again. Some merchants block prepaid cards — rare but it happens. Try a different merchant or use the card online instead.
Conclusion
Using a no-KYC crypto card is straightforward: pick a card on Kardd.co, sign up in minutes, load crypto, and spend. The whole process takes under 10 minutes for a virtual card.
Start with a small test amount, add it to Apple Pay or Google Pay if supported, and you’re spending crypto without KYC at any merchant worldwide.
Ready to get started?
Choose from 11 no-KYC crypto cards with full fee breakdowns and real reviews.
Choose Your Card on Kardd.coCards Mentioned in This Guide
Last verified: March 18, 2026. Card details, fees, and KYC requirements may change without notice. Always verify current terms directly with the card issuer before loading funds. Kardd.co is an independent comparison site — we are not affiliated with any card issuer except through publicly available affiliate programs. Full affiliate disclosure